Bonjour Quilted Market Tote - Modern Version
I love a roomy market tote, and I won’t be shy in saying the Bonjour Quilted Market Tote is my absolute favorite tote to date. The quilting provides moderate structure and adds a fun design element, it’s super roomy, and I LOVE the exposed french seams! After making several traditional looking versions of the tote, I decided I would whip up a modern version, and I wasn’t disappointed!
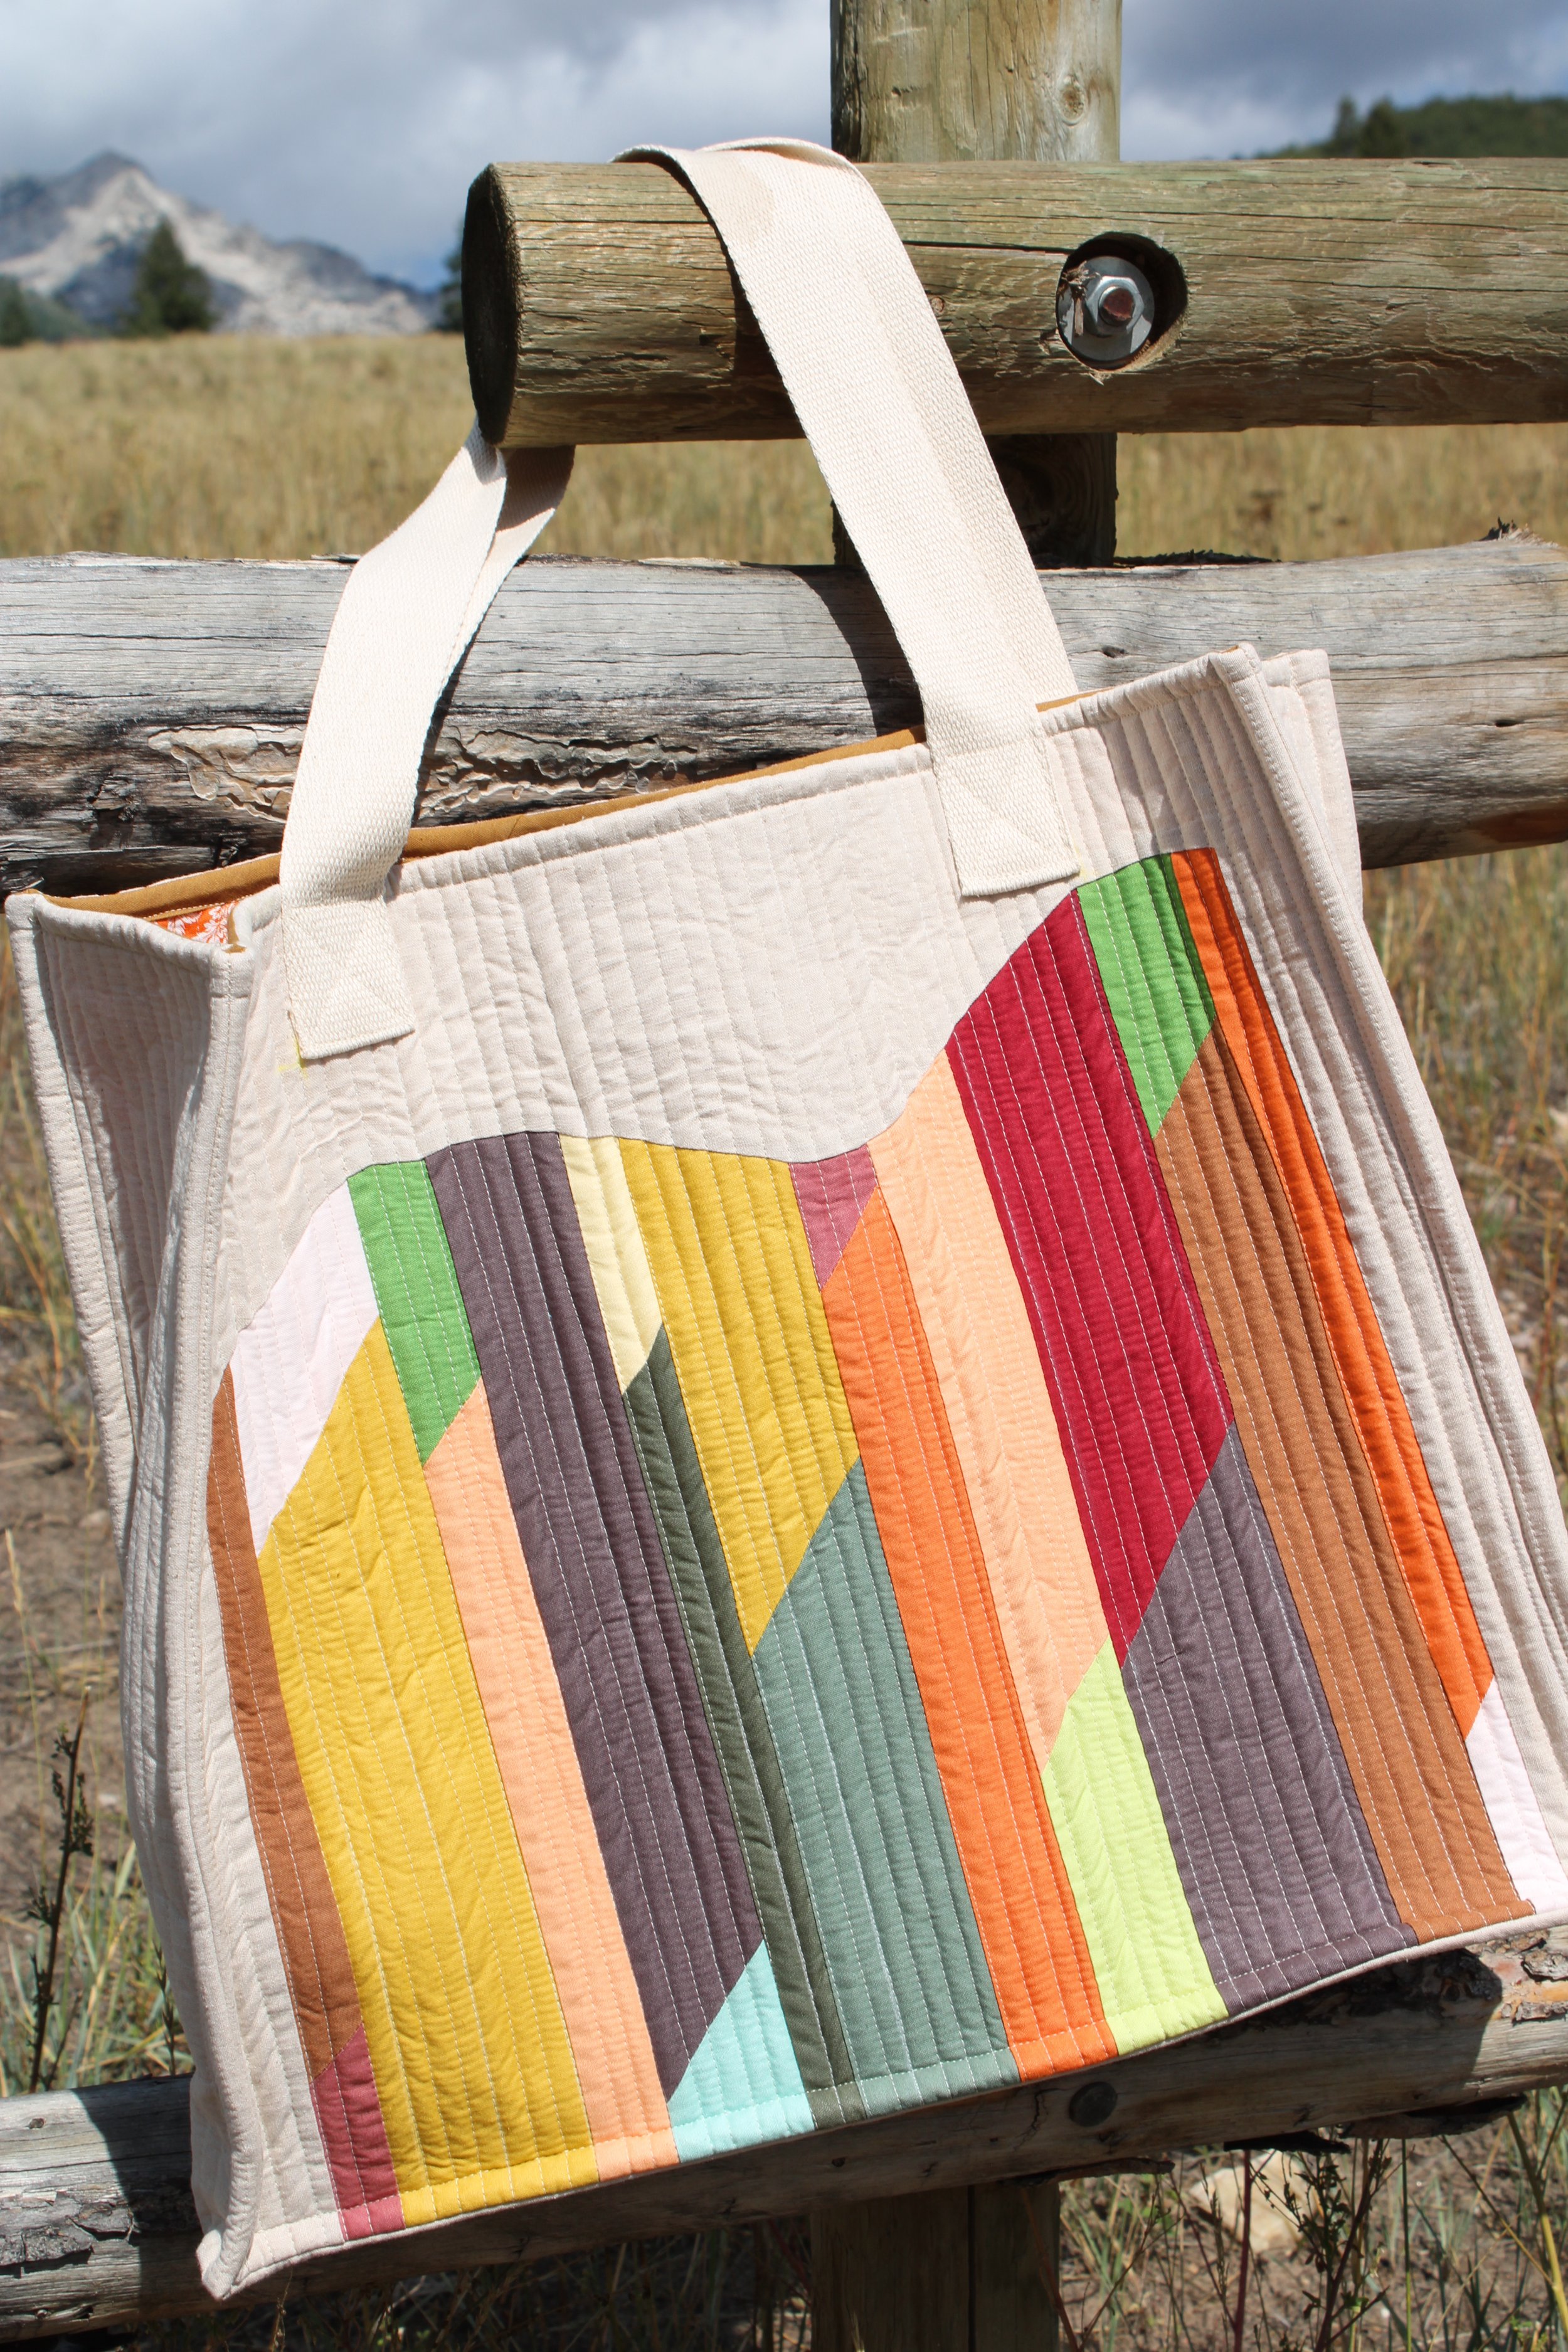
I used Riley Blake Designs Confetti Cotton paired with Riley Blake Designs Linen fabric. I love the contrast of the natural linen with the bold solid colors.

The front and back are slightly different, which I will talk about more as I show how I made the front and back. The stripes on the front are a bit longer and reach the bottom of the bag.

The back striped portion is much smaller and completely framed in the linen. The front and back designs were completely improv, so this wasn’t planned, but I do love how it turned out.
I love how this bag can be customized with any design you like. You could add quilt blocks, circles…anything, as long as the design fits the measurement of the front and back of the bag as written in the pattern.
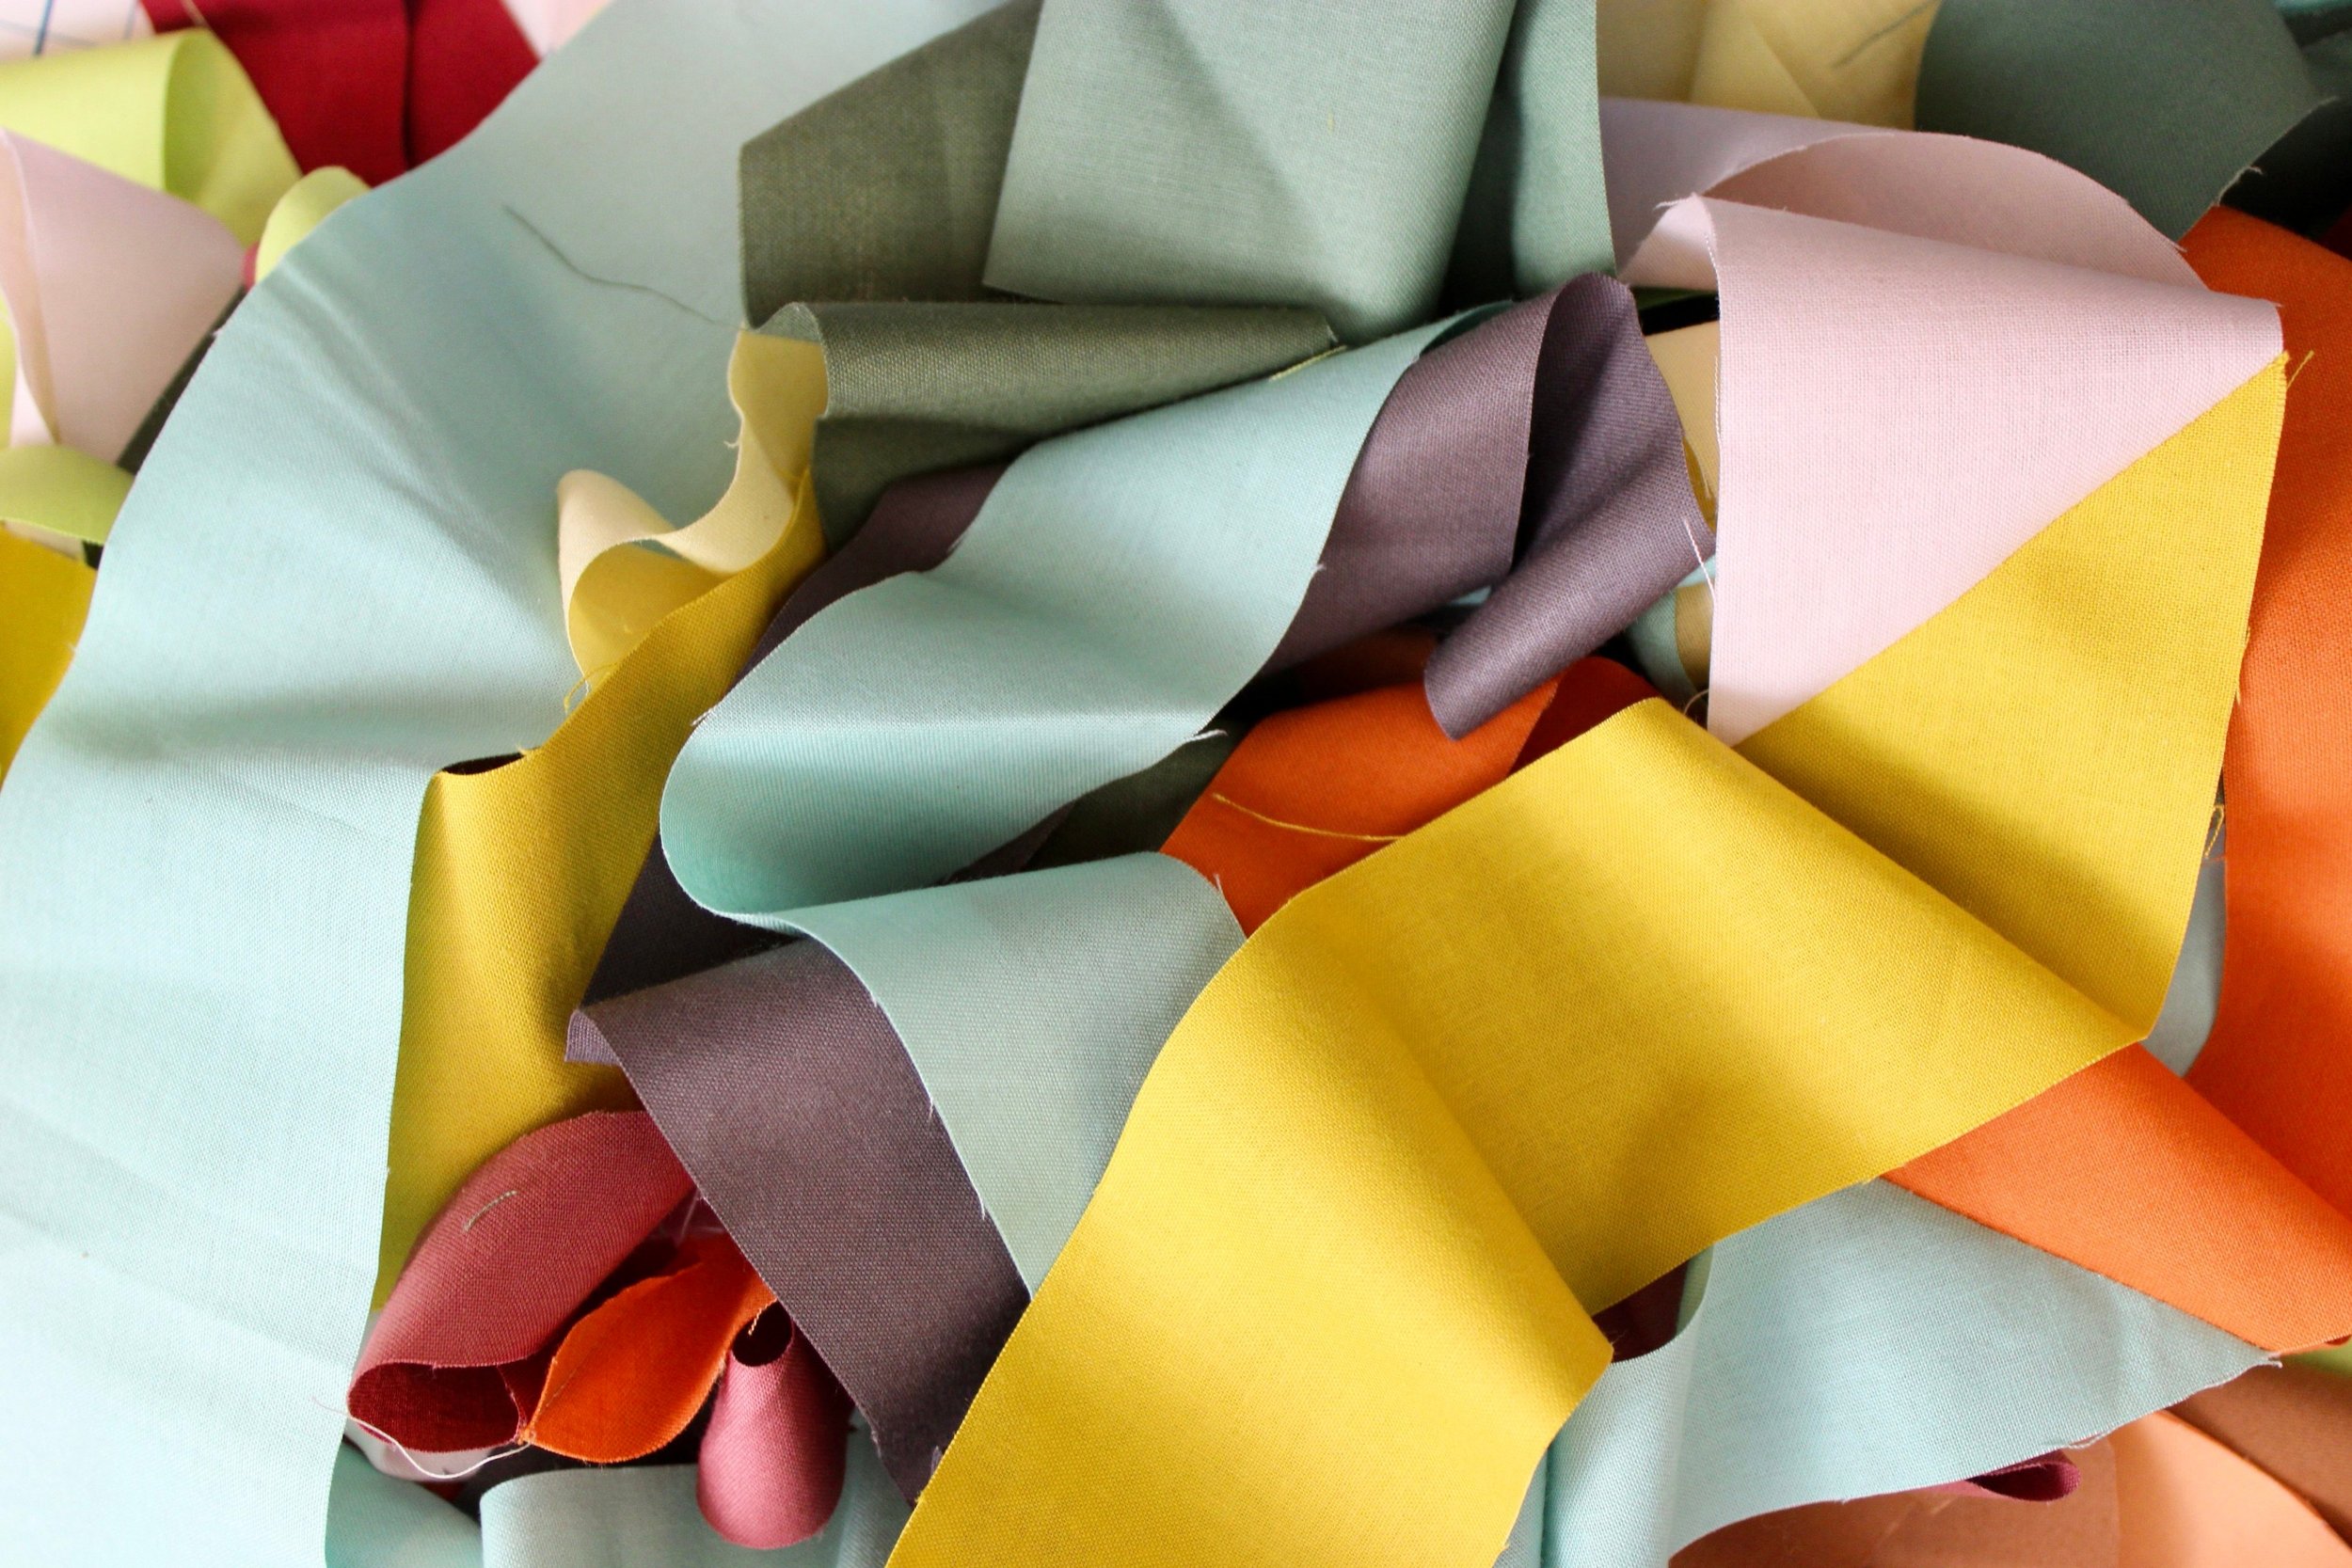
I started with strips of Confetti Cotton solids in a variety colors. I cut them in widths from 1-1/4” to 3” wide by the width of fabric. Then I cut each strip in half lengthwise so each measured about 21'“ long.

I sewed strips together, then lined them up, arranging them so the seams were randomly placed to create interest. I decided I wanted the stripes to take up about 3/4 of the front of the bag, so I cut them about 15” long on one end, but then decided to leave the other end uncut so I could use what was left for the back of the bag.
I sewed the strips together, starting at the cut ends. The end result was a section of strips with one end that was very uneven.

Next, I took a generous section of linen and laid it over the jagged end of the strip section. I arranged it so that when I sewed it to the strip section, it would be the right measurement )plus an inch or two extra for good measure) for the height of the tote bag.
I drew a wavy line in tailor’s chalk across the linen.

Now is the scary part! I cut through both the linen and my strip section along the drawn chalk line. After doing this, simply remove the bottom piece of linen and the top jagged piece of the strip section.

Butt the linen up against the strip section and draw a few small marks which you will match up in the next step. This is optional. Many people skip this step and that’s totally fine.

Here, I matched up the markings and pinned generously. Then, using a 1/4” seam allowance, slowly stitch the linen to the strip section.

Press the seam toward the linen. We now have the height for the bag front, but this is definitely not wide enough.

I added a few inches of linen to each side to create the needed width. And that’s how the bag front was made!
For the back, I used the extra jagged portion of the strip section we cut off. It already had a curve from the wavy cut we made, so I kept the curve and simply cut a section of linen to match that curve. Then sewed the linen and strip pieces together the same way I did the front piece. Because the back strip section was much smaller, I cut off the jagged edge and added additional linen to the bottom to give this piece the height it needed, then added linen to each side to get the needed width.
Easy, unplanned, and I love it.

I added medium weight interfacing to each of the bag sections because the linen is extremely lightweight, which made me worry the bag would end up flimsier than I like. The interfacing worked out great!
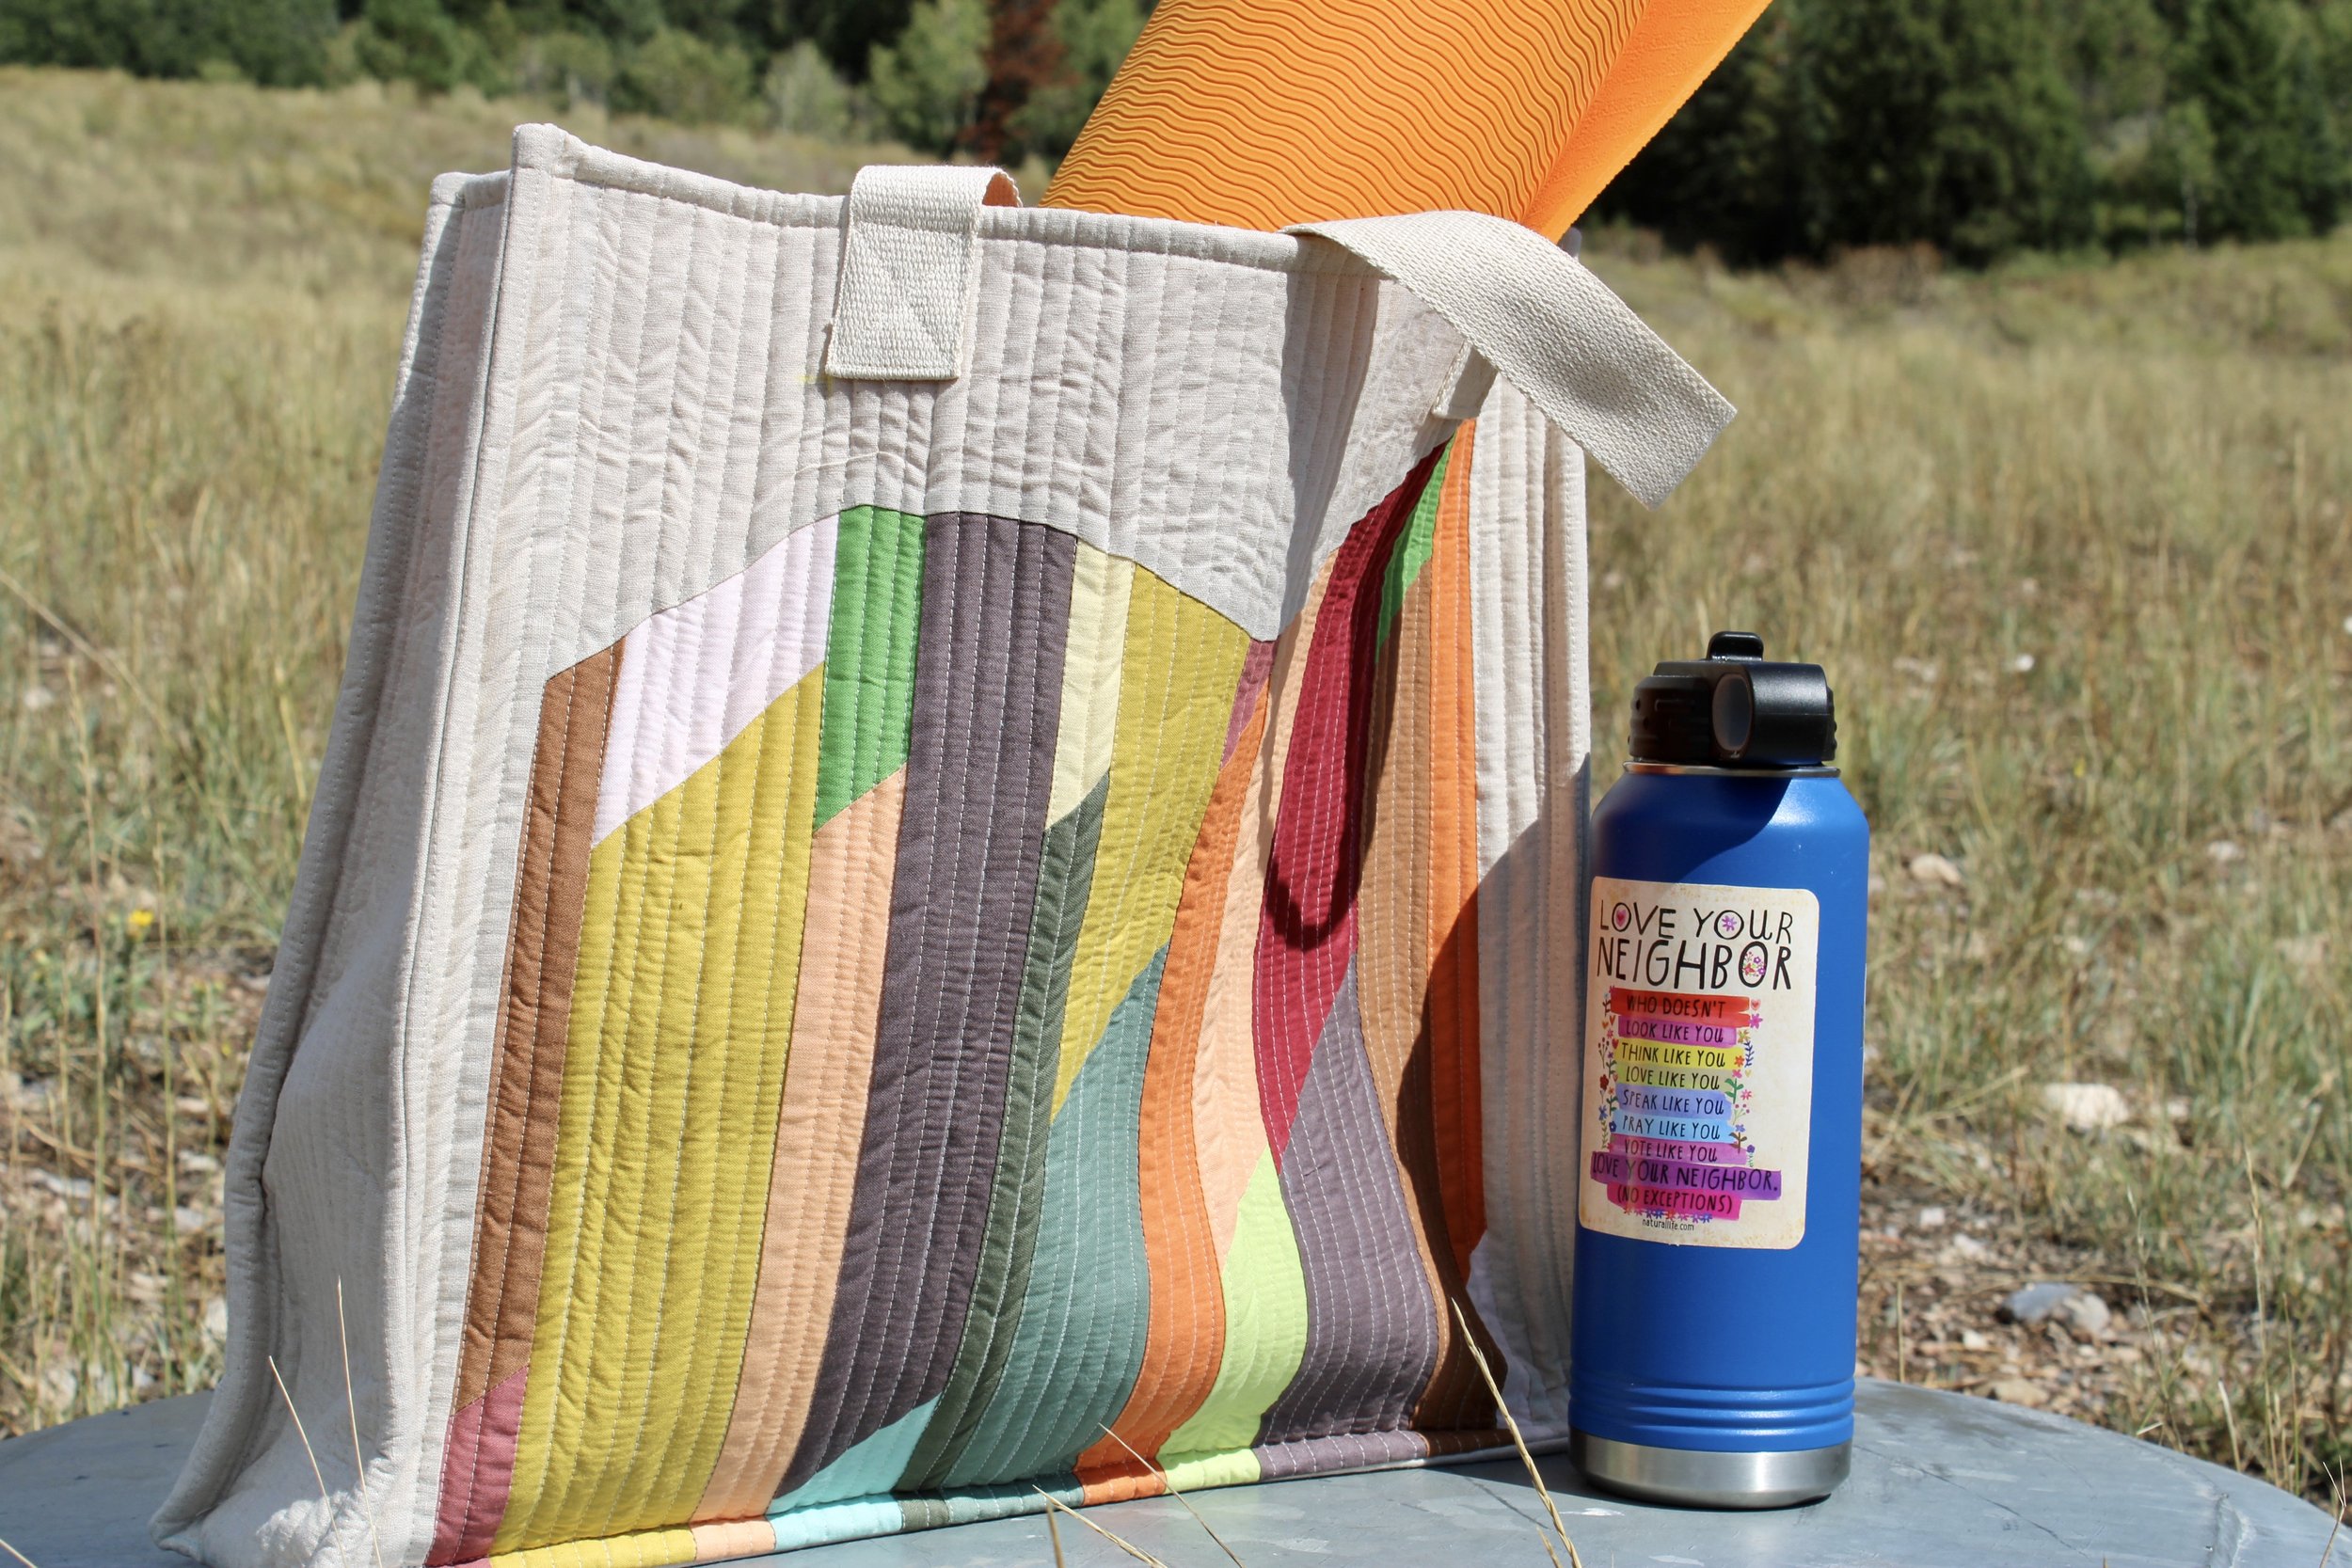
I found this bag is the perfect size for carrying my yoga mat and water bottle, so now I have one more use for this awesome tote!
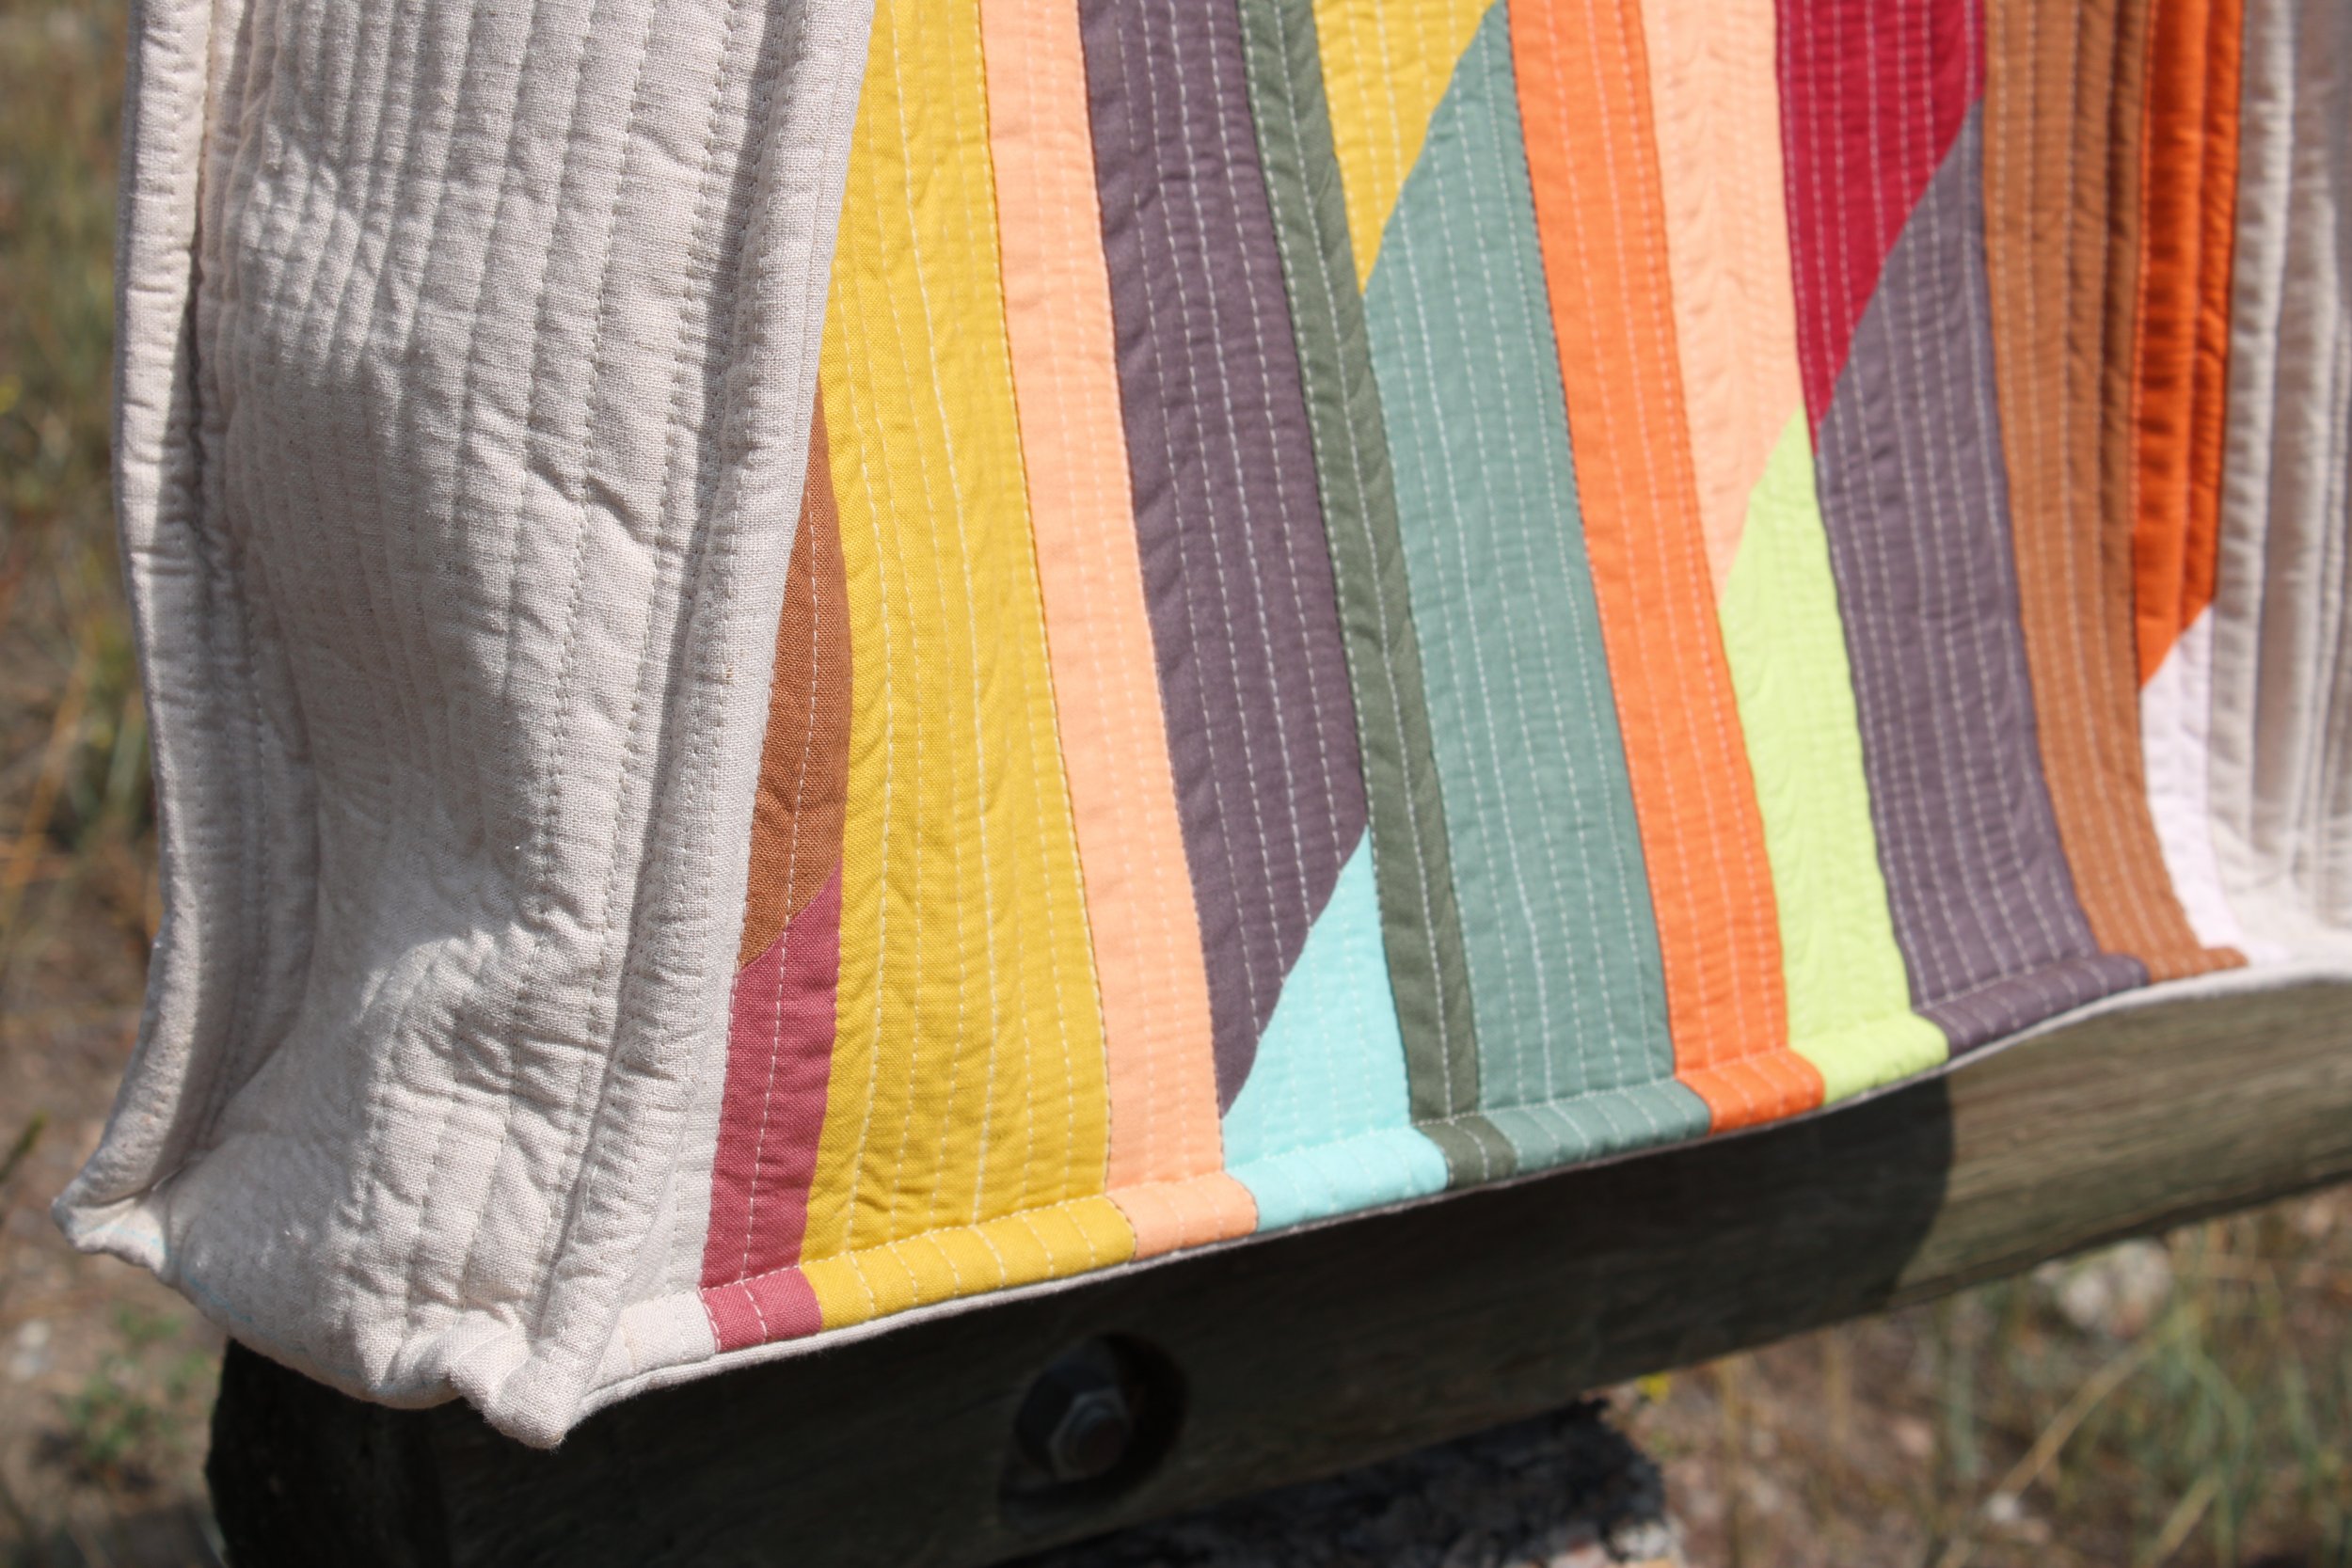
Here is a look at the exposed french seams. This is my favorite feature of the bag. I love how they look.

And here’s another look at this modern version of the Bonjour Quilted Market Tote. Everything about this makes me happy! Click on the button below to purchase your Bonjour Quilted Market Tote pattern and share your finished totes with me on Instagram by tagging me @bayhillstudio. I’d love to see what you come up with!
I created a video to go along with the pattern to help you visually work through any tricky parts you might come across.
I hope you’ll take a moment to follow me on Instagram and subscribe to my YouTube Channel to receive more creative content and project inspiration. Have a blessed day!